Converting a Bitmap to a Vector
and Extruding It In 3D

Converting a Bitmap to a Vector
and Extruding It In 3D
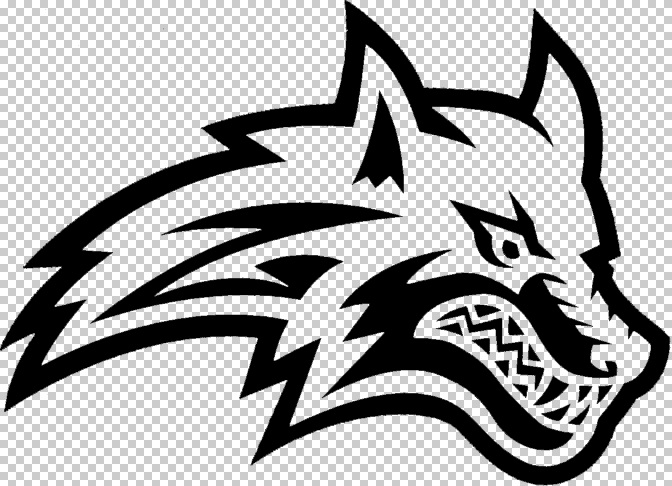
You will need to begin with a high resolution bitmap. The image below was scanned at 600 ppi. The background was removed in Photoshop and the image was saved as a transparent .png.
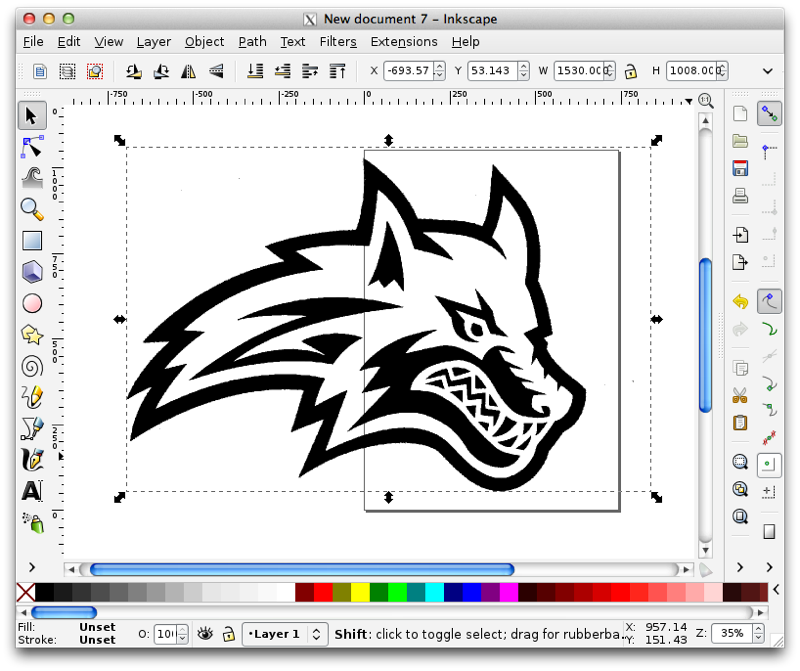
Import the image into Inkscape, the free vector drawing tool, by going to File > Import. The scale of the image does not matter.
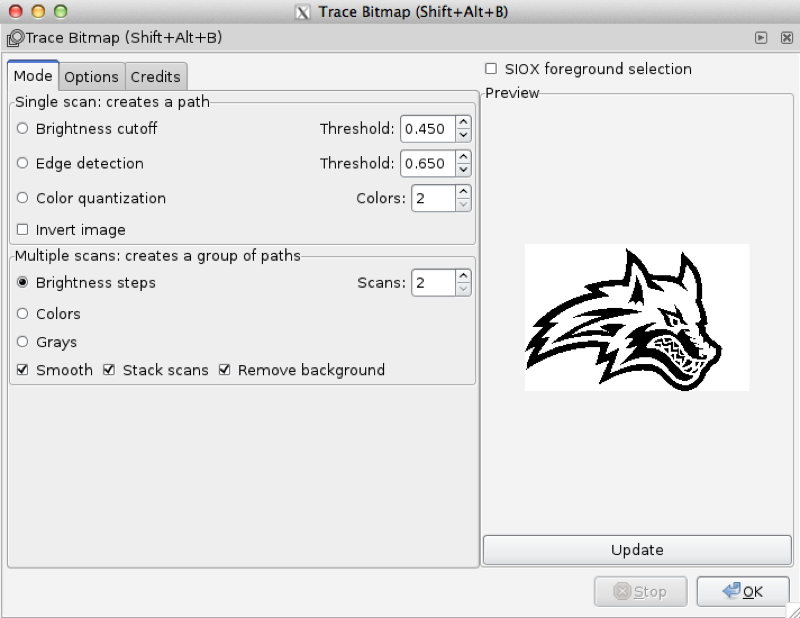
Choose Path > Trace Bitmap. A dialog will appear and you can try various settings to adjust the autotrace by clicking the update button. When you are done, click OK.
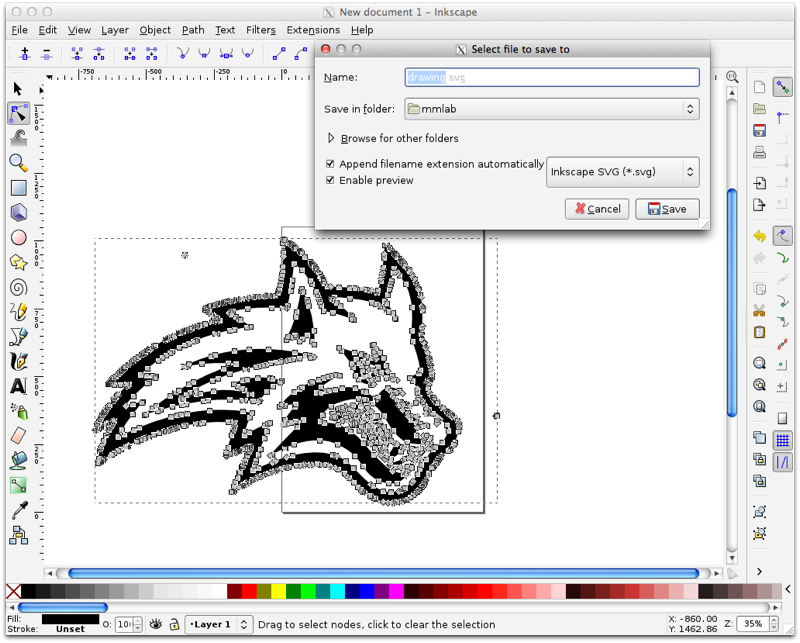
Note that the autotraced vector image will appear to have many control points if you select it with the sub-select tool. Delete the bitmap and choose File > Save As... and use the default InkScape SVG.
In Blender, choose File > Import > Scalable Vector Graphics. The vector will appear on the ground plane, and you may need to use the scale tool to enlarge it. Type S and move the cursor in the 3D view to enlarge the curve.
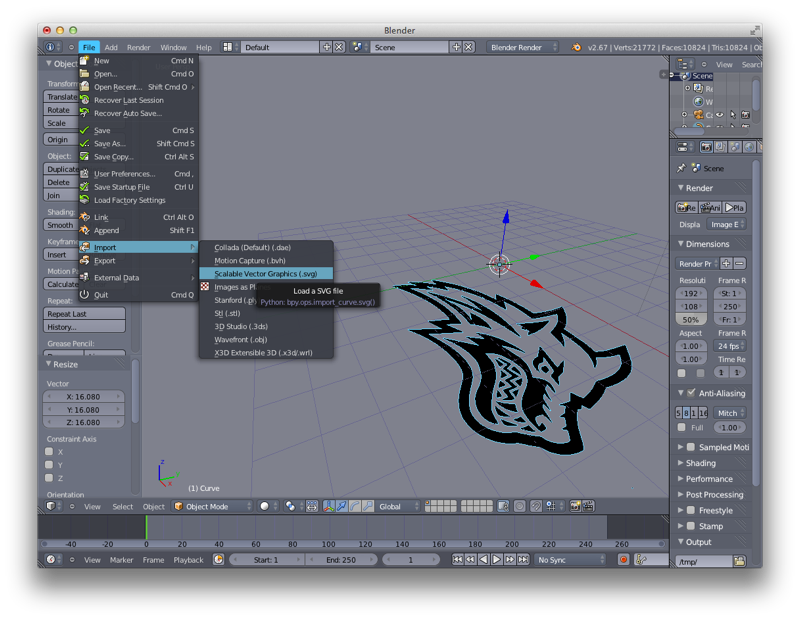
In Blender, choose File > Import > Scalable Vector Graphics. The vector will appear on the ground plane, and you may need to use the scale tool to enlarge it. Type S and move the cursor in the 3D view to enlarge the curve.
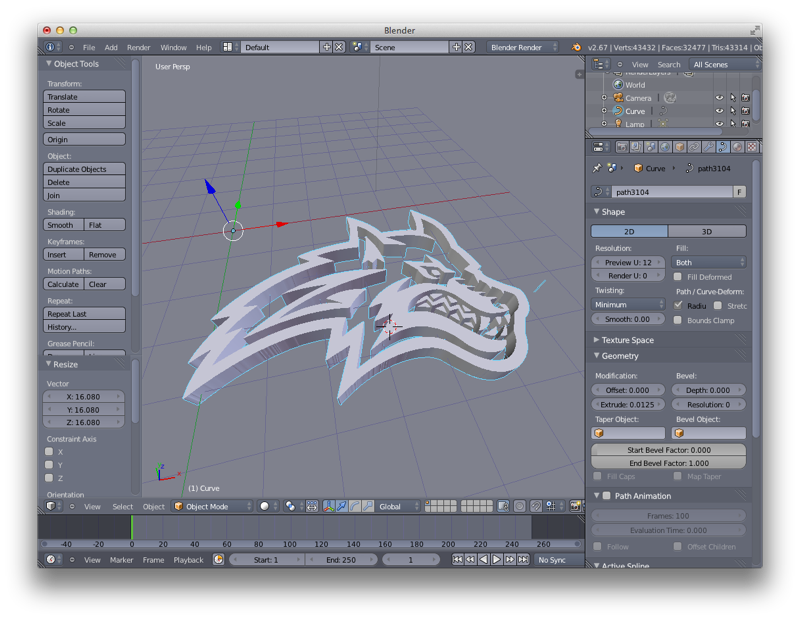
Select the curve in the outliner. Select the Curve tab to edit its properties. Choose extrude and try a value like 0.0125. You can also set a bevel along the edge of the object.

Curve Tab

Extrude

Select Curve