Create a Character from a Cube

Start by getting the best reference you can of your object. It can be a blueprint of a vehicle or a building, or a character sheet. Try to get reference that shows front, top, and a side view. Characters are best modeled in a “T” pose. For the Wolfie character I had to retouch the image in GIMP to recreate the missing right arm.


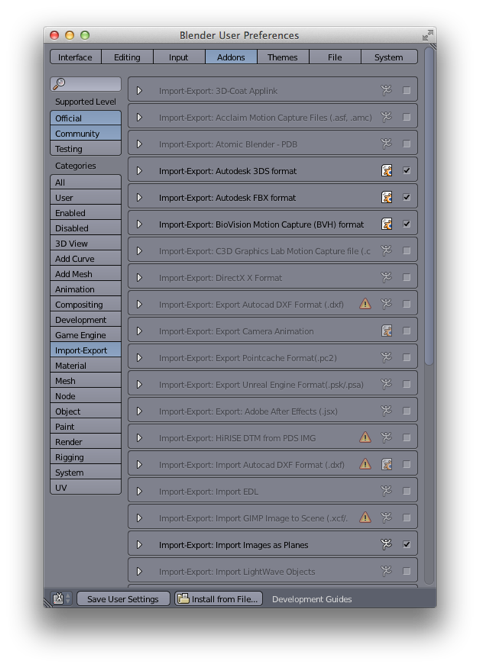
In Blender you’ll want to map your reference to a plane that you will use to model against. The plane will be hidden later when it comes time to render. The easiest way to do this is to use an extension to Blender called “Import Images as Planes”. Extensions to Blender are written in Python and are free to download and install. You can get the extension at: http://wiki.blender.org/index.php/Extensions:2.6/Py/Scripts/Add_Mesh/Planes_from_Images. Go to File > User Preferences > Addons > Install from File. Make sure the extension is checked in the Import-Export tab and choose Save User Settings. The extension will appear in the File > Import menu. You’ll probably have to scale the plane up, and turn on the textured view to see the image.
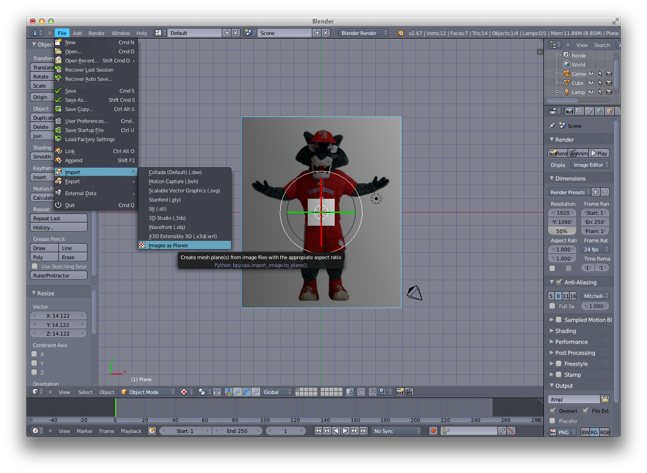

Textured View
Now select your default cube and tab into edit mode. The basic idea here is to continually subdivide and add geometry so you can approximate the shape of your reference. You can choose to edit vertices, edges or planes by hitting control-tab to get a pop-up menu. You’ll be using the tools from the modeling palette to the left. Inititally you’ll probably want to work with faces. Choose the Subdivide button and choose the number of cuts you want to make to a face, or the entire object.
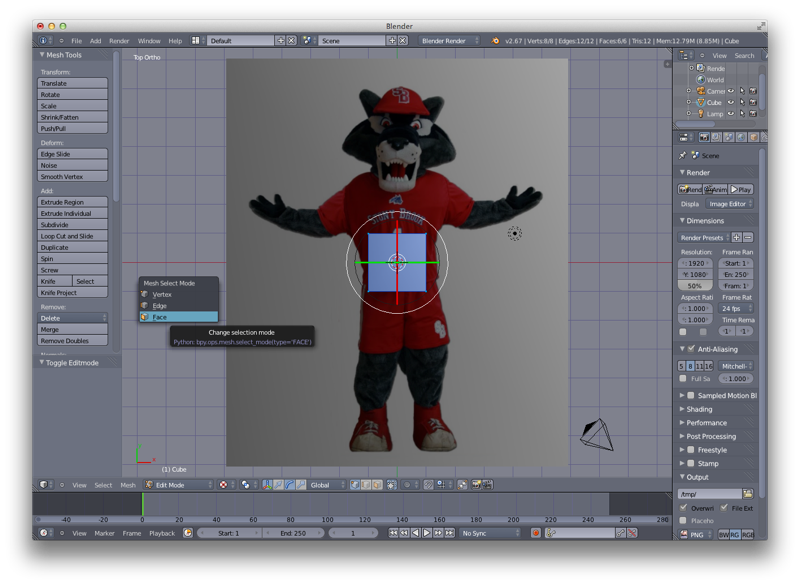

Geometry Selector
You can select multiple faces by shift-right-clicking on them, and then use the Extrude Region or Extrude Individual buttons to extrude those faces as a single mass or as independent regions. Left click to end the extrusion operation. Try to create “seams” where the character would naturally bend, like the waist, knees, elbows etc. Use the scale tool to taper geometry, use the translation tool to move points in space. Add additional edges using the knife tool (click to set an endpoint, hit enter to stop) or the Loop Cut and Slide tool.

Subdivide
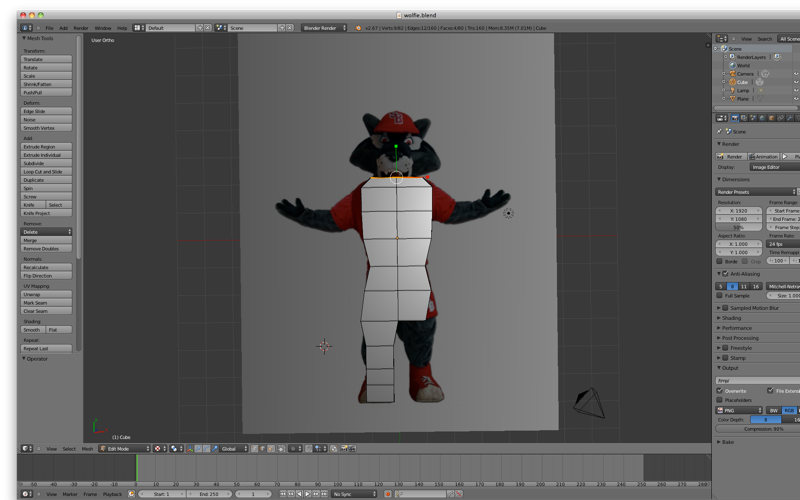
At some point you will have blocked out the basic dimensions of your character, and will be ready to start in on the finer details. To do this you will want to select all of the geometry on one side of the character and delete it, so you can use the Mirror Modifier.
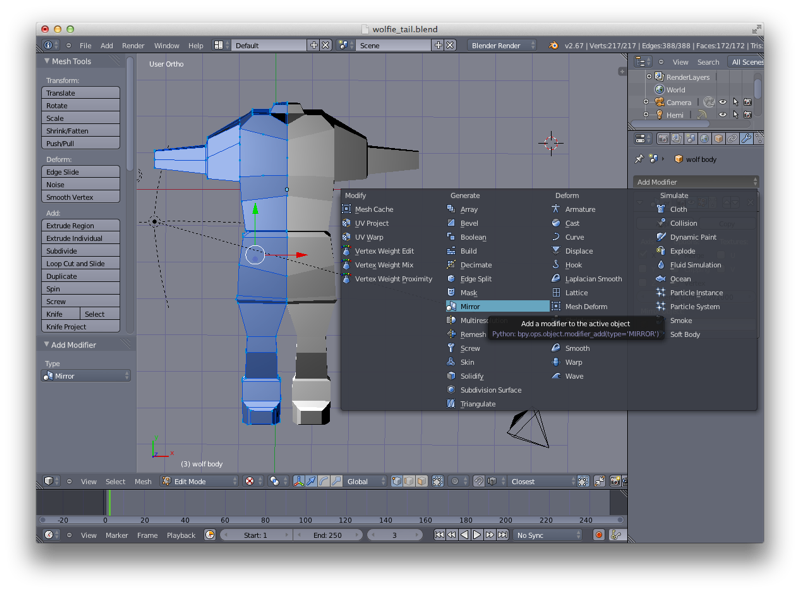

Modifier Tab

Scale, Rotation. & Translation tools

Extrude
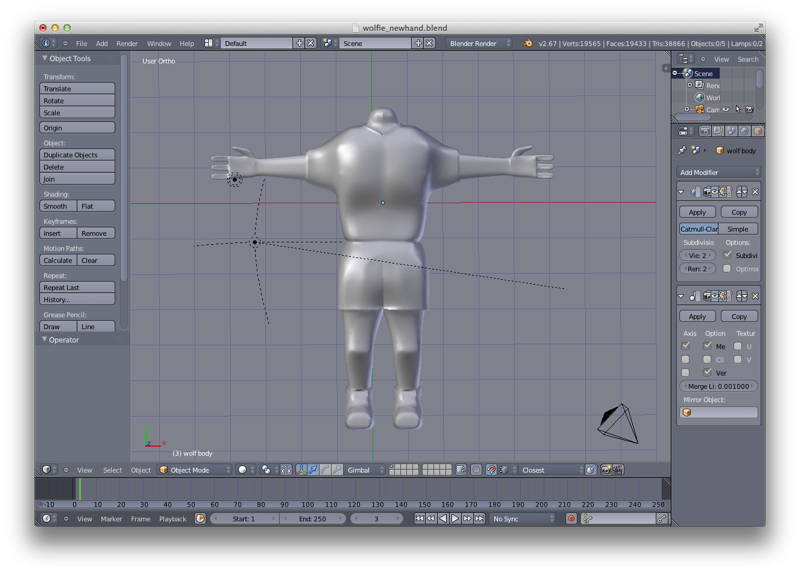
Additional features of the character, like the hands, can be created by adding more geometry in Edit mode. Hit Shift-A to get a menu of objects to add, and select another cube. Scale it to fit the proportions of your model. Subdivide the cube to extrude fingers, but make sure the wrist has the same number of vertices as the forearm does, because they will have to be “welded” one-to-one. Delete the faces of the wrist and the forearm that are facing each other by selecting them and hitting X. When you have moved the hand into position, hit Control-Tab and choose vertices. From the menu below the 3D view, choose the snap-to button to turn it on, choose vertices, and choose closest. You can now start grabbing vertices in the hand by right-clicking and typing G to grab them and move them so they overlap with their corresponding vertex in the wrist.

Snap-To