For the reenactment student teams will need to consider backgrounds, props, wardrobe, and even hairstyling to recreate their historical scene. In most cases members of the team will assume the roles of the historic characters in the scene they are recreating, and will need to photograph the scene against a plain backdrop. That image can then be composited with a background and other scene elements in an image editing program like Adobe Photoshop, or GIMP (which can be downloaded free at https://www.gimp.org/downloads/)
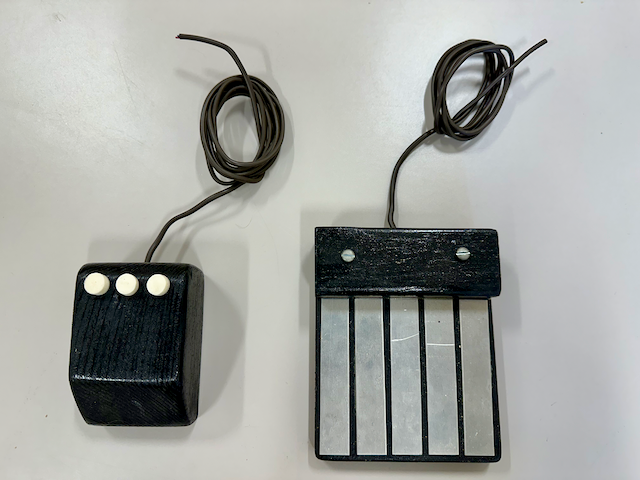
The props, such as an antique computing device, can be fabricated by the team, as in the example of Douglas Englebart's mouse below.
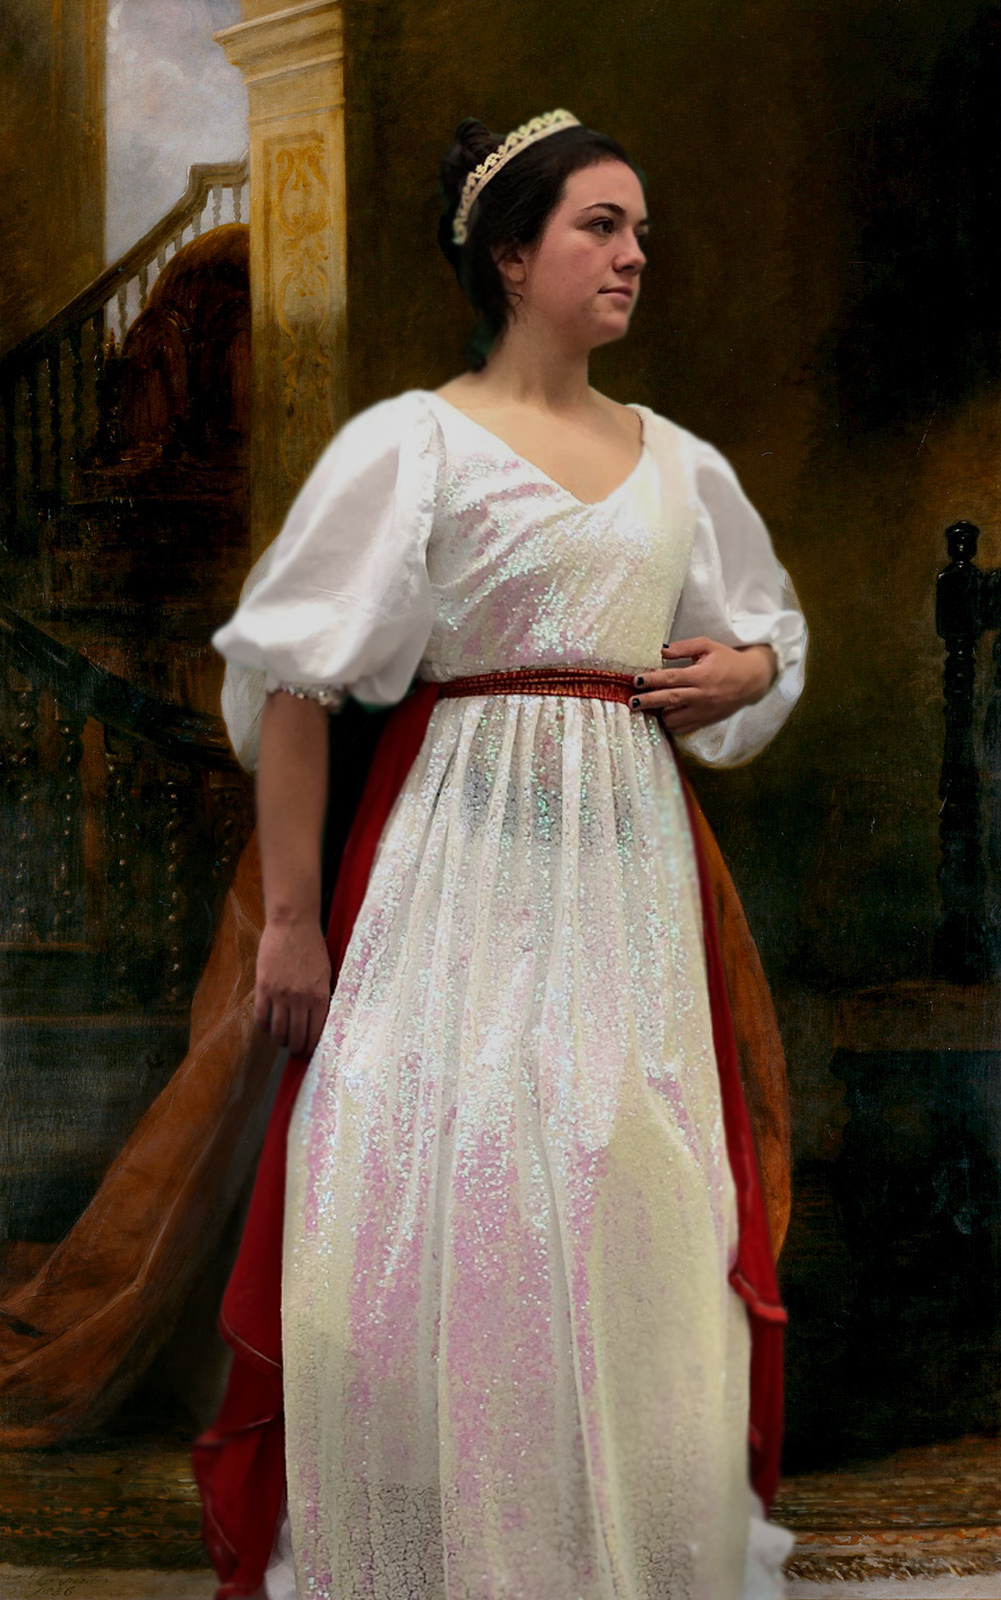
Wardrobe and hairstyling is up to the student teams. In some cases students have decided to tailor a costume specifically for their reenactment, as in this portrait of Ada Augusta Byron shown below:
In a few cases the CS department may have some antiquated eqipment, such as an old original Macintosh computer. Contact the instructor to see what might be available for your photoshoot. But it's likely student teams will have to find a resource on their own. There are a number of web sites that offer free 3d models of various computers, old video game consoles, and the like. Here are a few of them:
https://sketchfab.com/3d-models
https://3dwarehouse.sketchup.com/
https://www.turbosquid.com/Search/3D-Models/
Your team's first task, of course, is to know what you are looking for. That's part of the research you will do for your report anyway! So let's say that your team wants to reenact the introduction of the Apple II personal computer by Steve Jobs, John Sculley, and Steve Wozniak. Here's the photo:
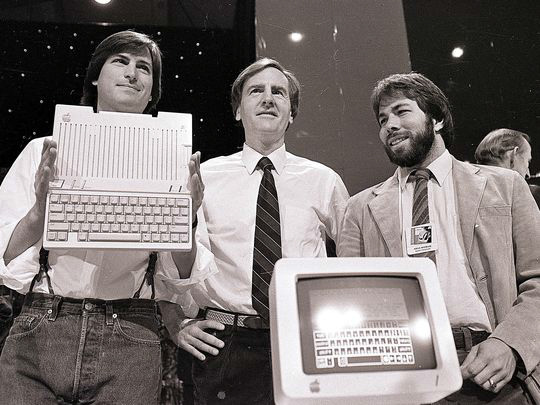
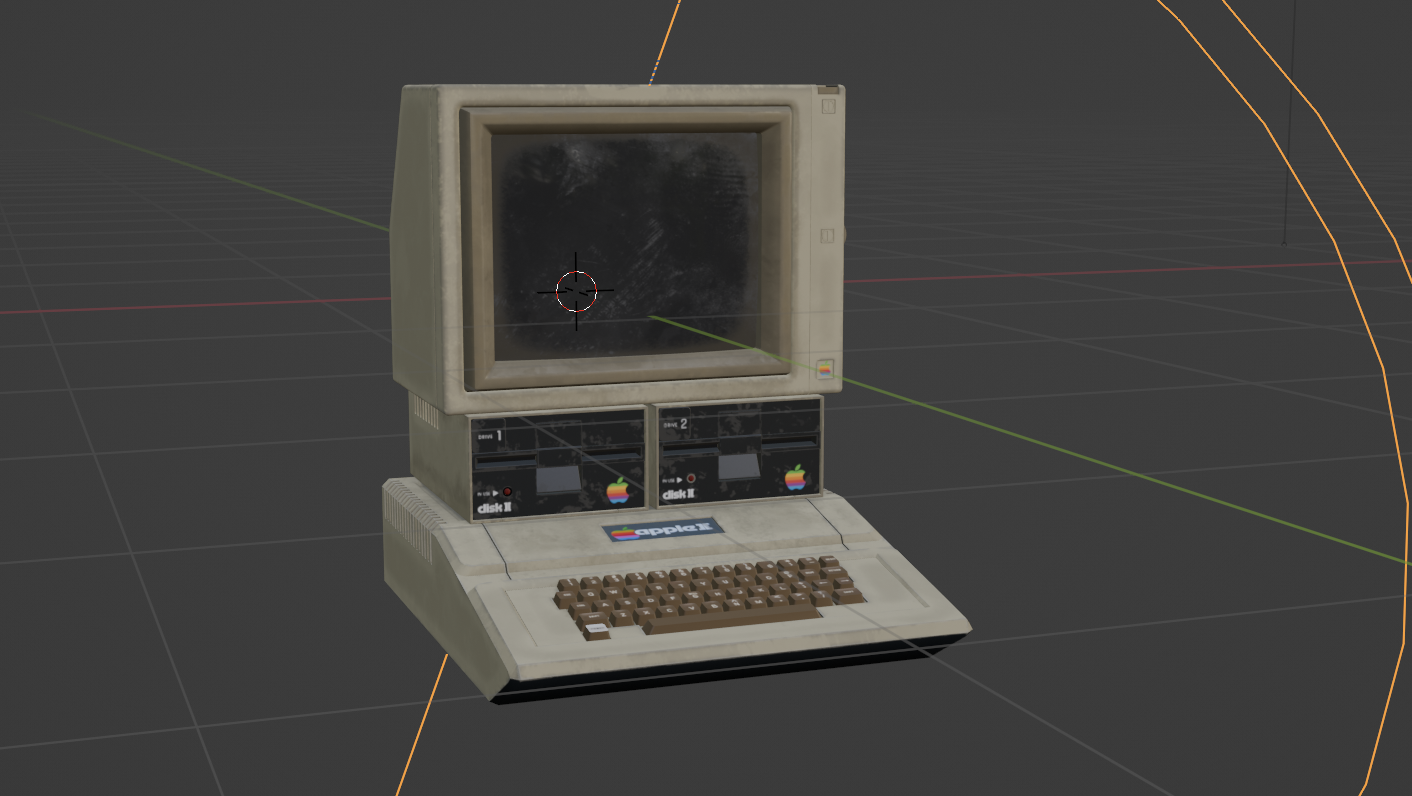
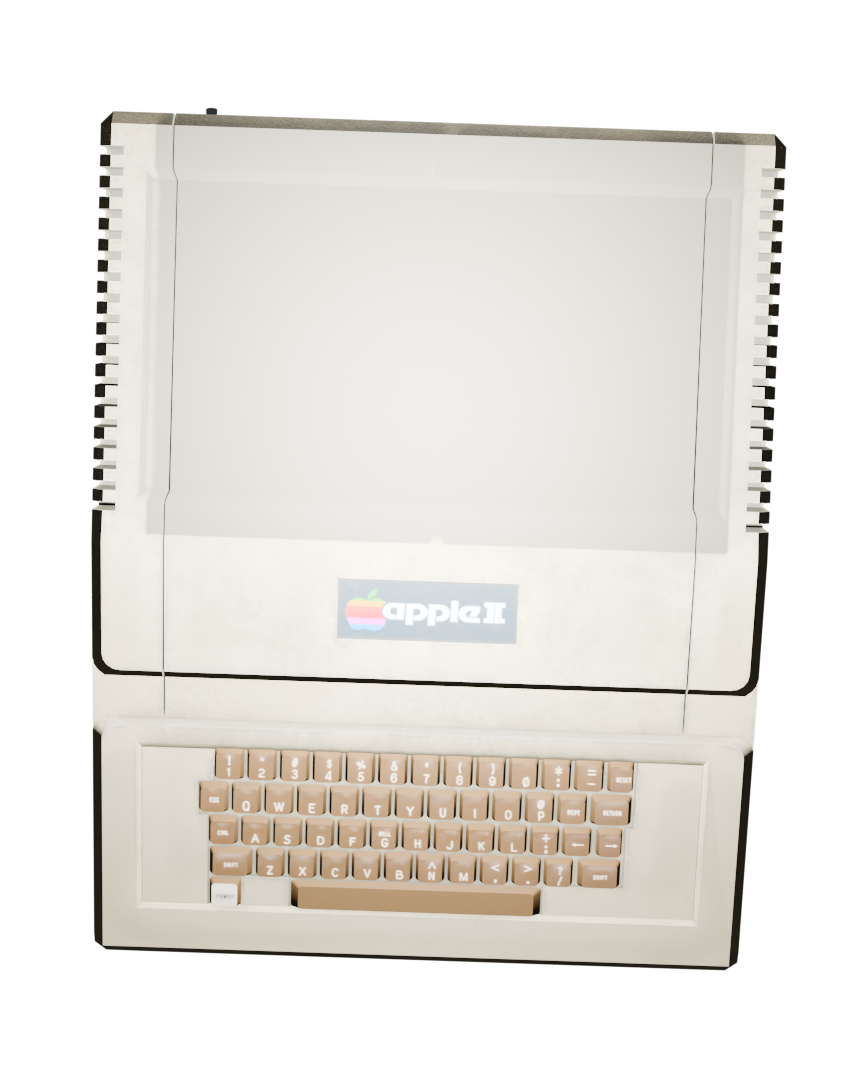
The Apple II computer had an integrated keyboard with the computer, and a monitor (and disk drives) that sat on top of it. A search for free downloadable 3d models of the Apple II might turn up examples like this:
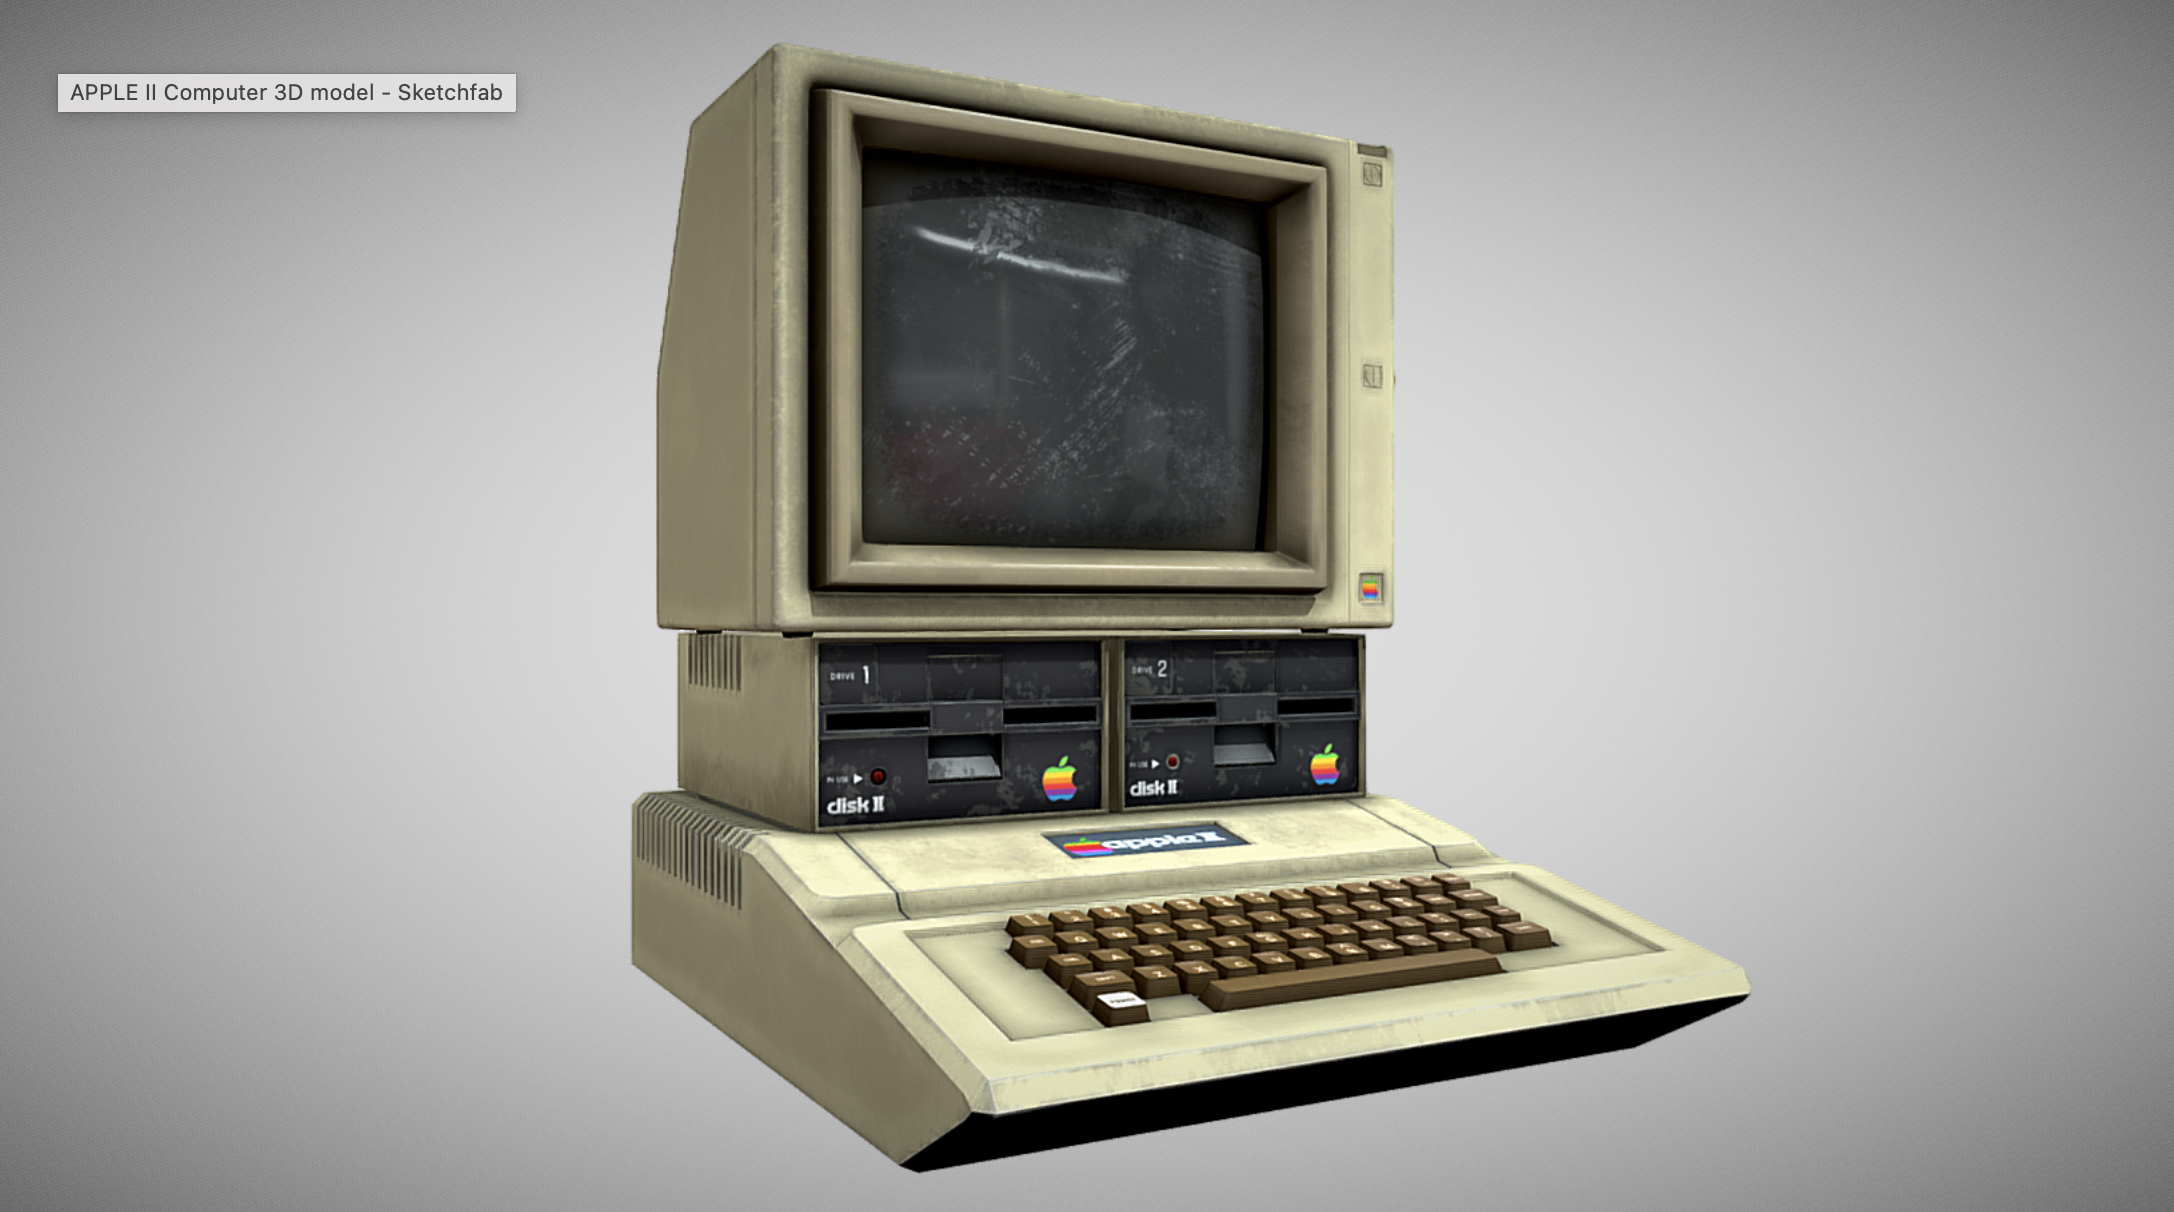
https://sketchfab.com/3d-models/apple-ii-computer-d63cf1fd519443648a31db6cab036ab9
Your team can download the model in either .fbx or .obj format so it can be imported into a 3d modeling program. Blender is a free, cross-platform application you can download at https://www.blender.org
In Blender you would create a new document, select the default cube in the scene and delete it by typing "X", and import the model under File > Import (model type).
Your scene would now look like this:
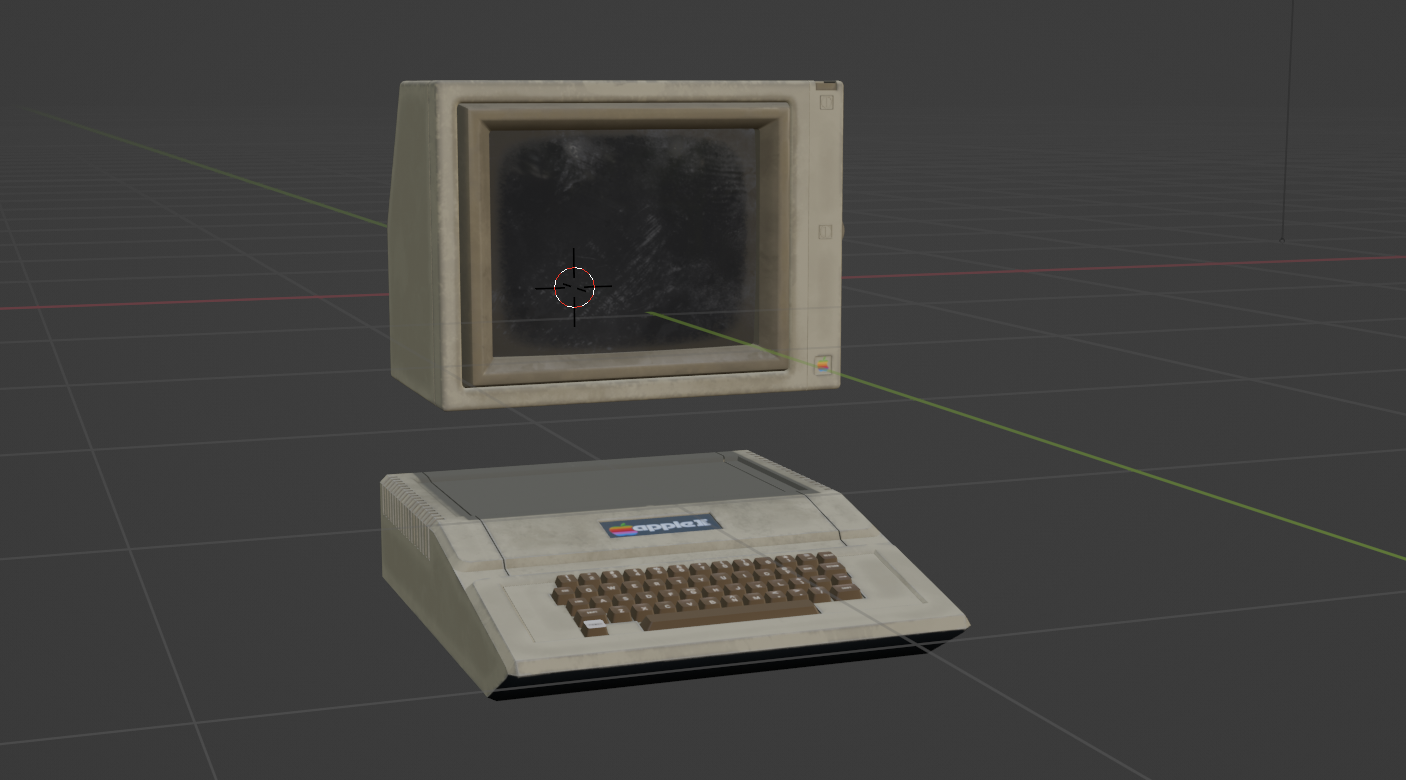
In this case the disk drives are not needed, so those parts of the model were selected and deleted. Now the model looks like this:
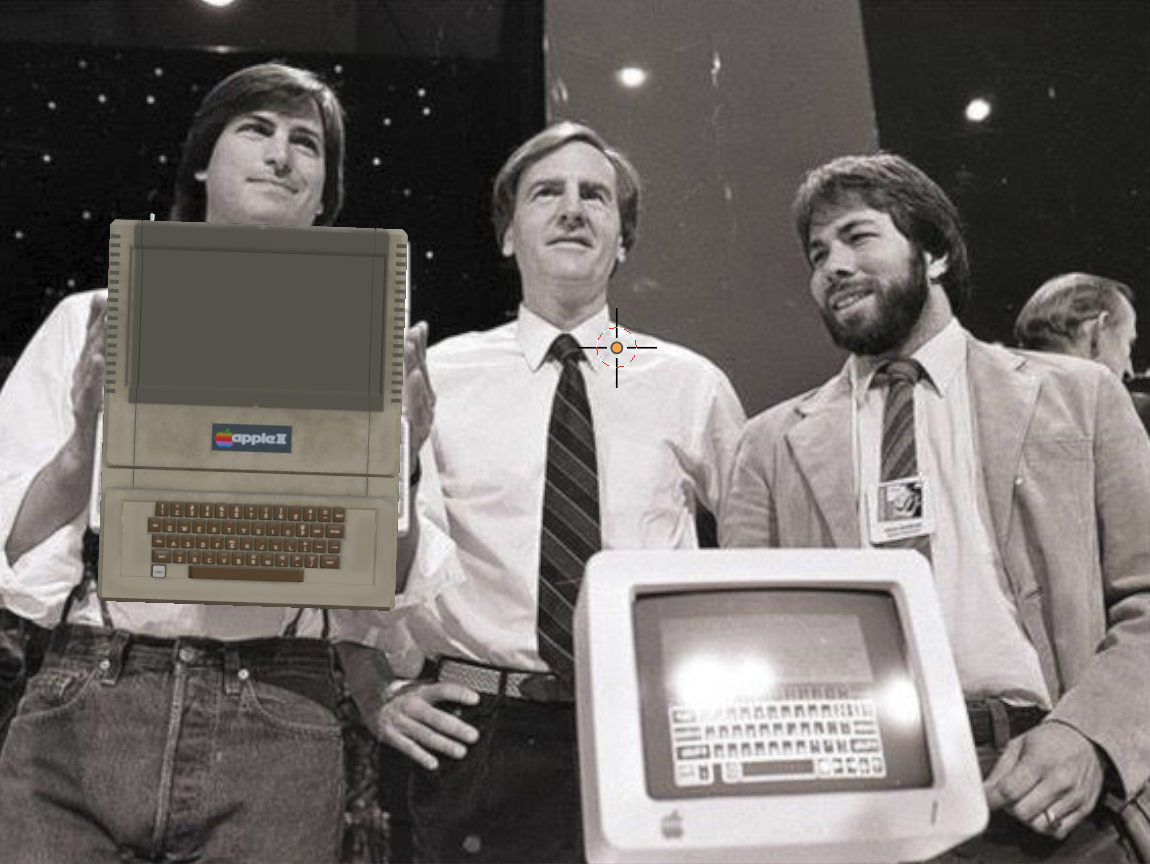
Two versions of the file were saved - one where the monitor was deleted, and one where the keyboard/computer was deleted. To get a composite-ready image of the keyboard, the historic photo was brought into the scene using Add > Image > Reference Image. By selecting the model and scaling it (type "S") and using the translation tool and rotation tool in the tool palette on the left, the model can be made to match the position, orientation, and scale of the artifact in the original photo.
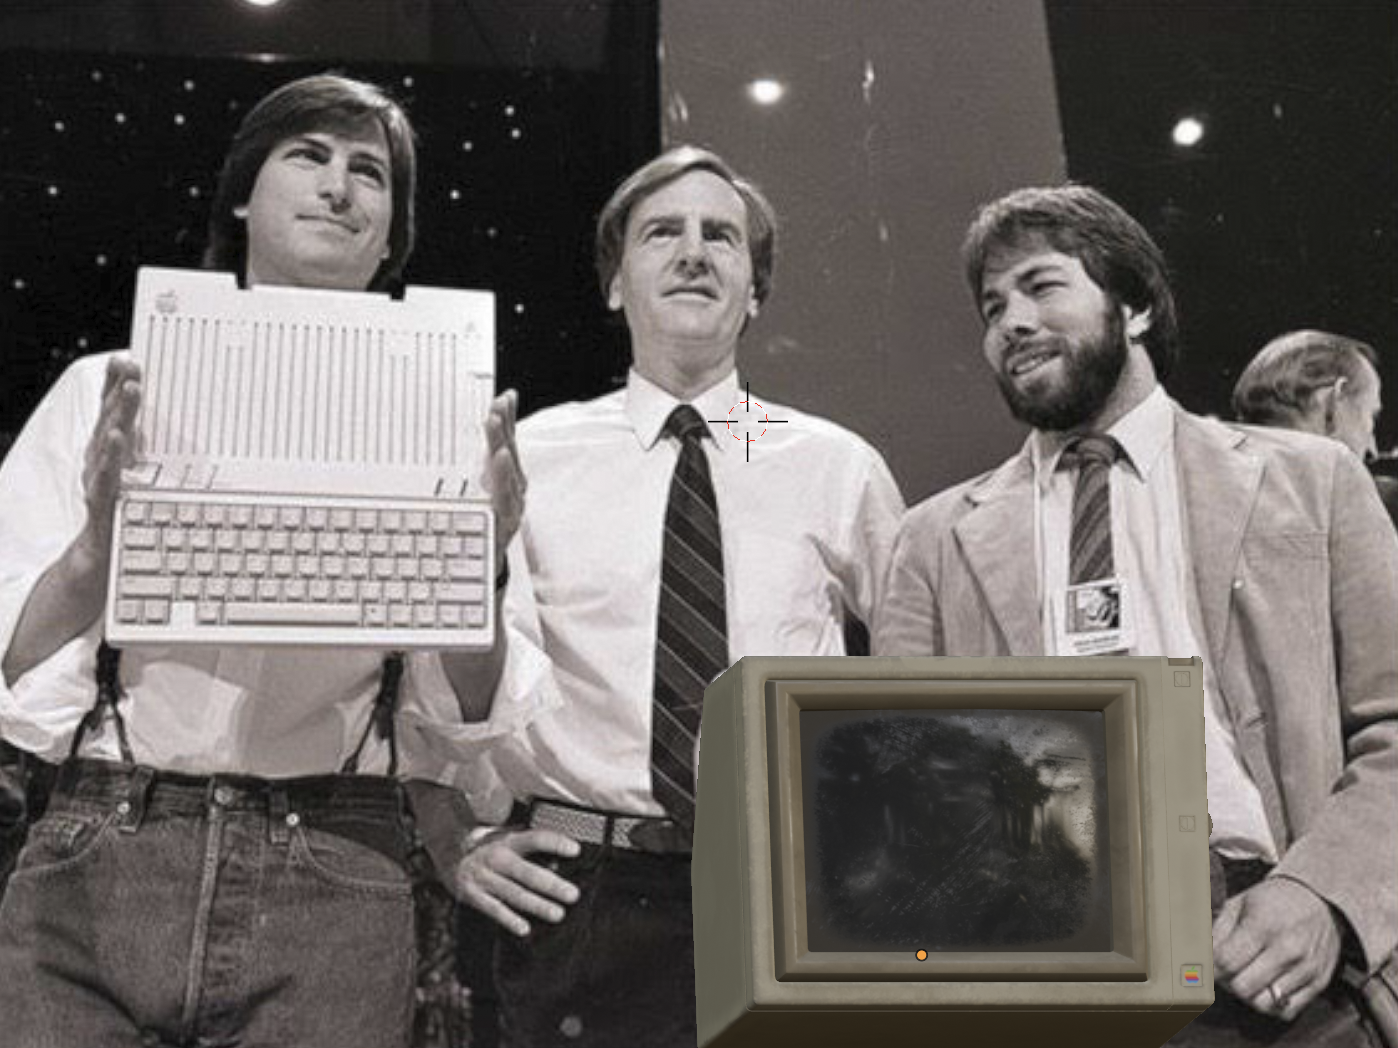
The same thing was done for the monitor.
Adding a light to illuminate the model might be a good choice. Align the camera view to the object by choosing View > Align View > Align Active Camera to Selected. Set the background to transparent under the Render tab in the properties window on the right (check the "transparent" checkbox under the Film option). Set the Frame Start and Frame End under the Output tab to 1, and choose the directory where you want the image to be rendered. The default format is PNG which you can leave as is, just make sure RGBA is selected. Choose Render Animation from the Render menu at the top left of the application window. You will now have an image of your prop on a transparent background that your team can composite with your photo of your scene!
Of course, it might make more sense to use your reenactment photo rather than the historic photo to position and align your 3d model prop for rendering. In this example, the student team could assist themselves by posing with a styrofoam cut out that matches the dimensions of the Apple II when shooting their photo.
Remember to document your stages of development for the reenactment. You will need those images of the process for your presentation.